SSL installation Sap Webdispatcher
Apr 20, 2023
This is a guide for installing an SSL certificate on an SAP Web Dispatcher. Today we will cover: How to install an SSL certificate on SAP Web Dispatchers.Before we get started, you’re going to need to make sure you take your SSL certificate and any Root/Intermediate certificates and unzip them onto the server you’re going to install them on.
If you have not yet generated your certificate and finished the validation process, refer to our
CSR Generation Instructions
before proceeding with the instructions below.
Here’s how to install an SSL certificate on SAP Web Dispatchers:
-
Obtain an SSL certificate from a trusted certificate authority (CA) in the form of a .pfx or .p12 file.
-
Copy the certificate file to the server where the SAP Web Dispatcher is installed.
-
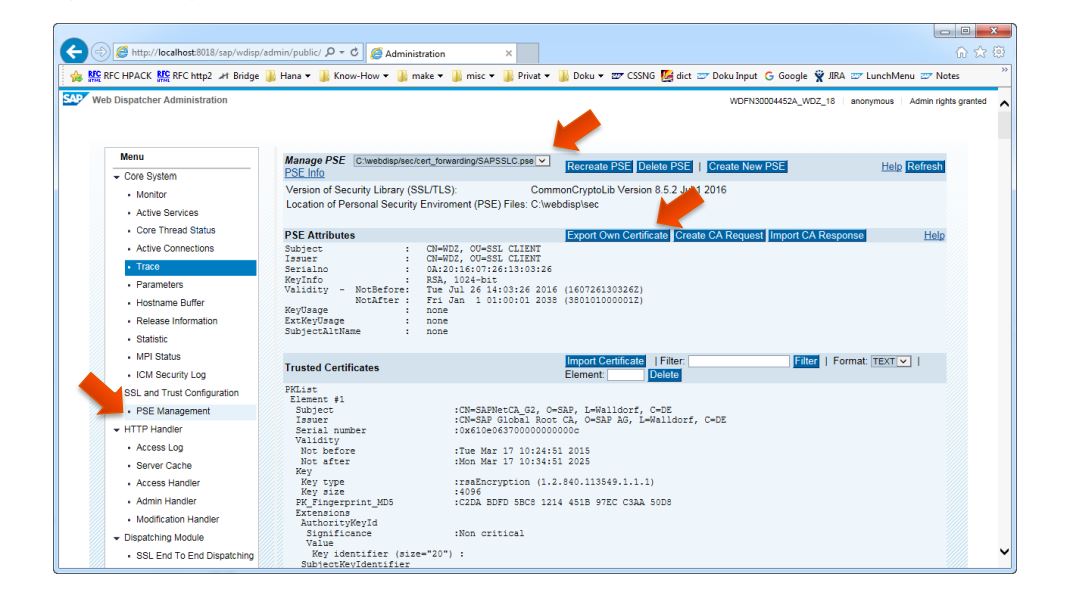
Use the "sapgenpse" tool to import the certificate into the SAP Web Dispatcher's Personal Security Environment (PSE). This tool is located in the "sec" directory under the SAP Web Dispatcher installation path.

-
Run the following command:

sapgenpse import_p12 -v <path to .pfx or .p12 file> -p <password> -r <pse name>
-
In the configuration file of the SAP Web Dispatcher, specify the PSE name that you used in the previous step.
-
Restart the SAP Web Dispatcher for the changes to take effect.
-
Verify that the SSL certificate is correctly installed by accessing the SAP Web Dispatcher's URL using the "https" protocol. You should see the certificate details and the browser should indicate that the connection is secure.
