To generate a CSR (Certificate Signing Request) in PLESK, you will need to follow these steps:
Step 1:
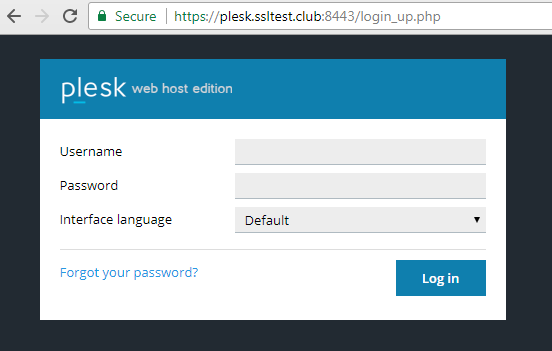
Log into Plesk: The first step in generating a CSR in Plesk is to log into the Plesk control panel using your username and password.
Step 2:
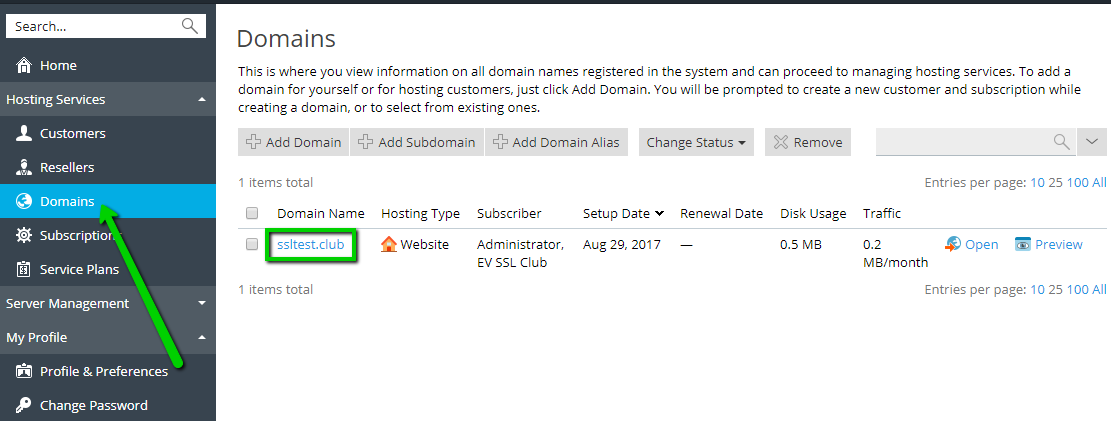
Select the domain: Once you are logged in, select the domain for which you want to generate the CSR.
Step 3:
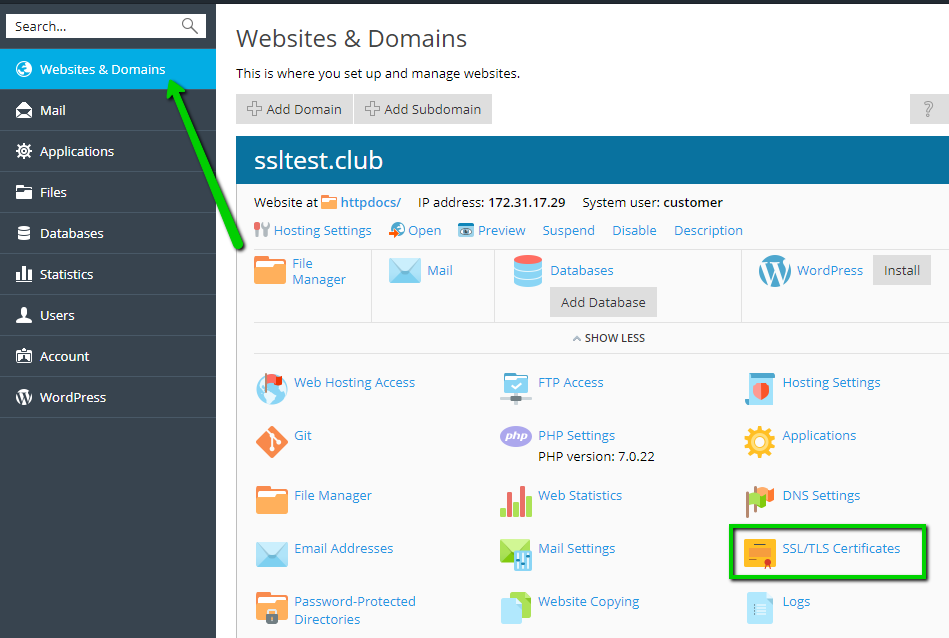
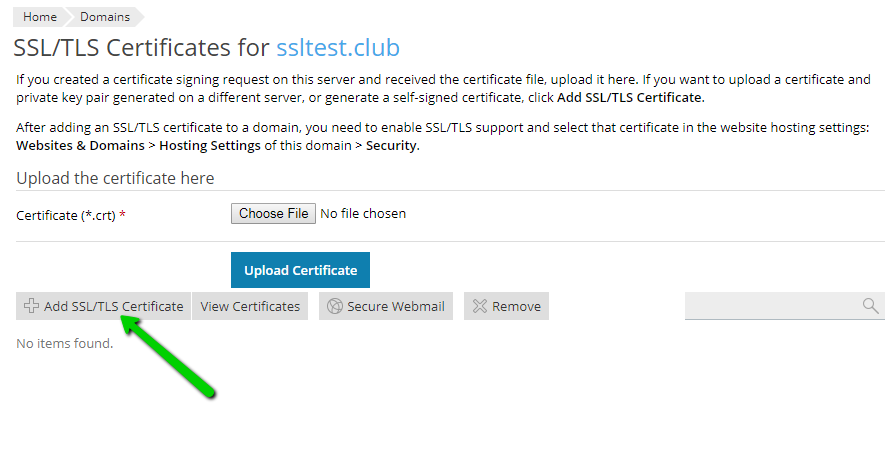
Go to SSL/TLS Certificates: From the main menu, go to the SSL/TLS Certificates option and click on it.
Step 4:
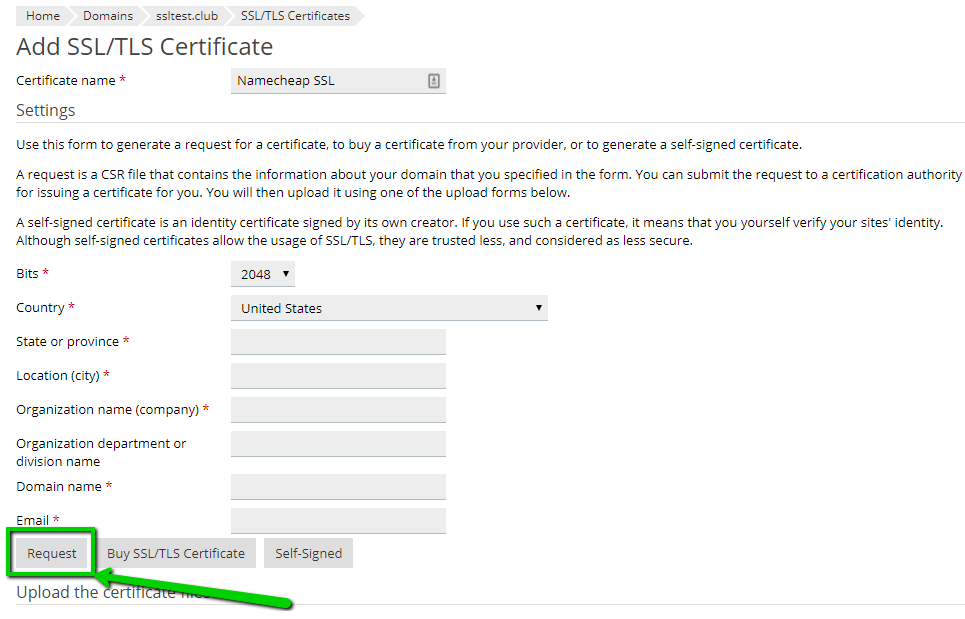
Fill out all the necessary fields on this page and click
Request
:
-
Certificate Name
- it can be any friendly name to distinguish a particular SSL certificate in Plesk Panel.
-
Bits
- is a length of public key, 2048-bit is a minimum security standard nowadays.
-
Country
- choose your country from the list, it will be shown in the CSR as two-letters country code.
-
State or province
- state, county or region where the company or applicant is located.
-
Location (city)
- is a locality or city of the country.
-
Organization name (company)
- is the officially registered name of the organization that applies for a certificate. If you do not have any, put NA here.
-
Organization department or division name
- is the name of the department or division within your organization. This is an optional field.
-
Domain name
- is a fully qualified domain name (FQDN) that should be secured. The subdomain can be entered as well. To generate a CSR for a Wildcard certificate, put the server hostname in this format: *.domain.com.
-
Email
- put your email here.
Step 5:
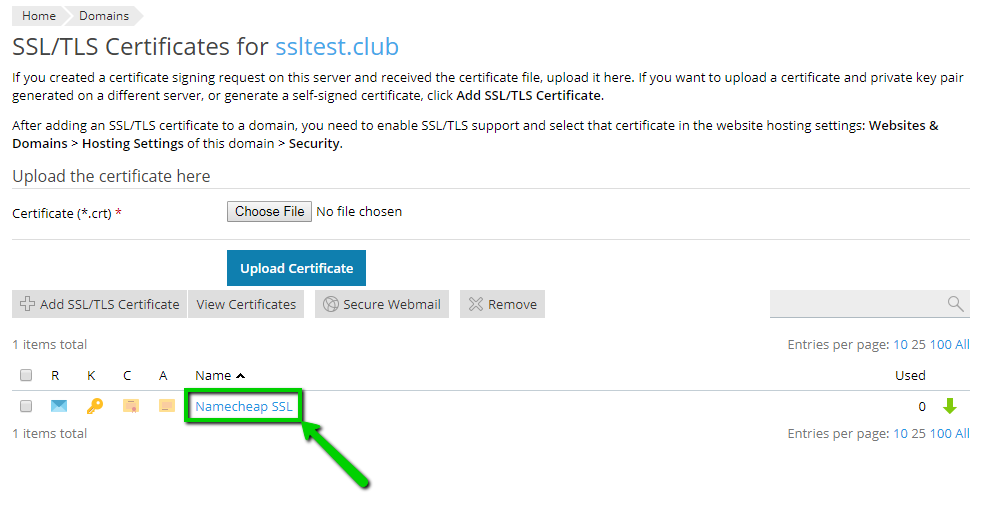
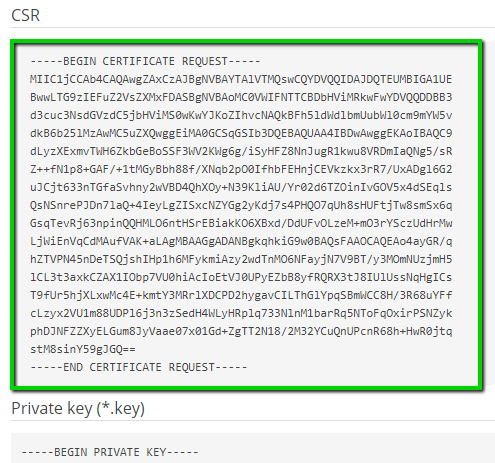
New SSL certificate container will appear in the list. Click on it to find a CSR code and a private key generated along with CSR. A private key is required for further SSL installation to one or multiple hosting servers.
Step 6:
Scroll down in order to find the CSR code. Copy all of it including header
-----BEGIN CERTIFICATE REQUEST-----
and footer
-----END CERTIFICATE REQUEST-----
.
